


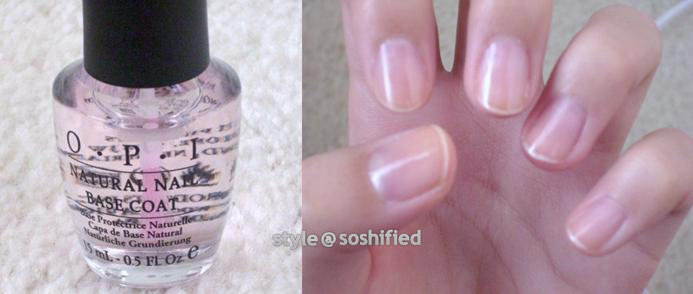
1) Start off with a base coat to protect your nails.
2) Apply red nail polish. OPI Big Red Apple is so opaque that one coat can enough, but I’ve decided to go with 2 coats anyway.

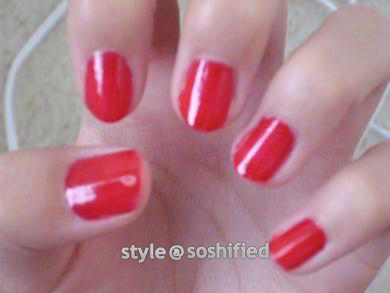
2nd Coat^^
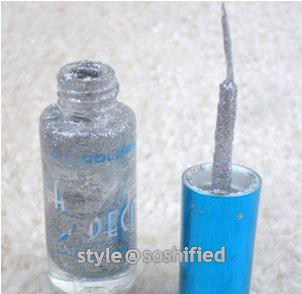
3) Use a silver or silver glitter nail polish (you can’t see if it’s silver glitter or just silver by looking at Tiffany’s nails) and create a curved line by the cuticle area. I’m using a silver glitter nail polish that comes with a thin brush. If you want, you can use a separate thin nail art brush dipped into a silver(glitter) nail polish to do so instead.
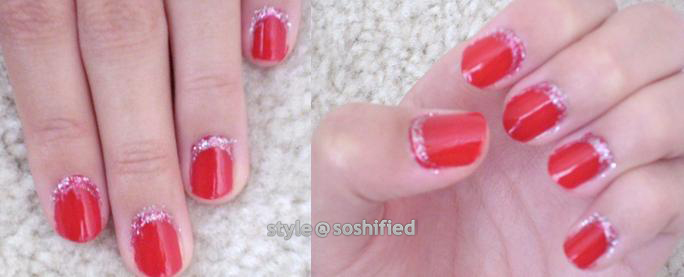
4) Go over it until the silver glitter is opaque and you can’t see any red underneath the silver(glitter).
5) If you’re like me and you always get nail polish on your skin then use a brush or q-tip (I like to use a brush because it’s more precise) dipped in nail polish remover and clean up around the nail.
6) Next, apply a top coat to seal in your nails and make them shiny. I LOVE to use OPI Drip Dry Drops because they make your nails dry SO much faster. Apply 1-2 drops onto each nail when you’re done painting on your top coat.
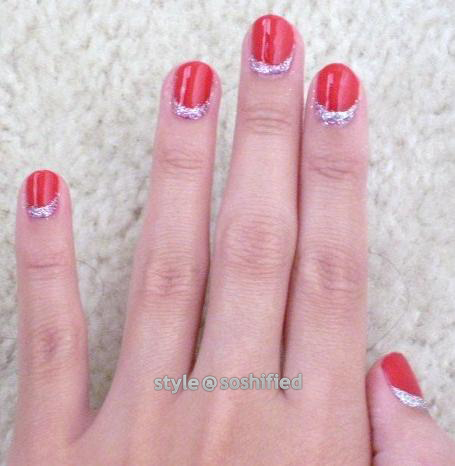
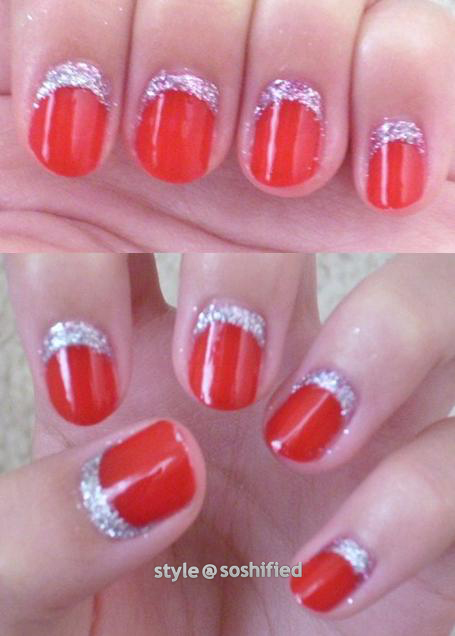
Final Results:
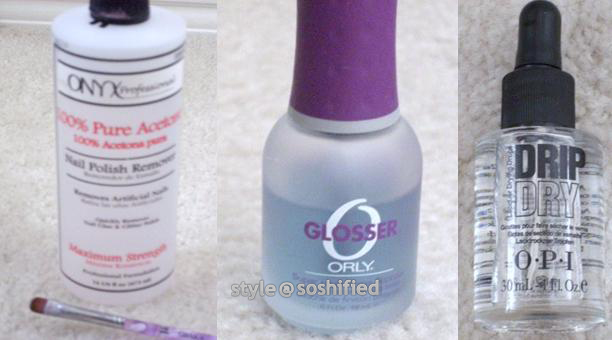
Product List (In order of use):
OPI Natural Nail Base Coat
OPI Big Apple Red Nail Polish
LA Colors Art Deco Silver Glitter Nail Polish
Osaka Kolinsky Nail Brush in #14
Onyx Professional- 100% Pure Acetone Nail Polish Remover
Orly Glosser Top Coat
OPI Drip Dry Drops

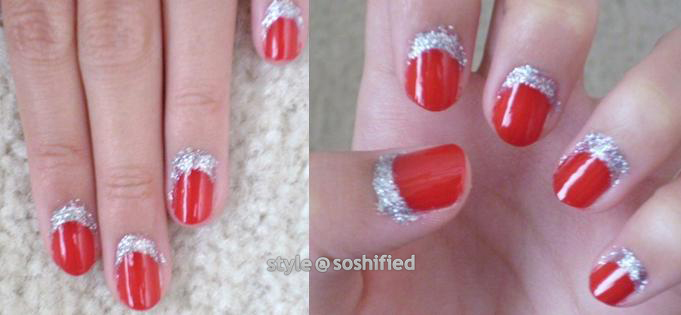
I’ve just notice that this is the nails that in the dancing queen MV tiffany wore this nails style as well